
How to Make Halloween Graveyard Brownies

Hi everyone, Katie here! We LOVE Halloween here at CCHQ (Cookie Countess Headquarters). We love the fun, the creepiness, the candy, and the creativity!
Halloween 2020 will certainly be different this year, but that doesn't mean you and your family or friends can't have some baking fun. I dreamt up this ghouly Graveyard Dessert that will be perfect for your social distanced Halloween get-together! I am a novice at cookie decorating, so trust me when I say this one is pretty easy.
This is a great hands on project to get kids involved with as well.
Keep in mind this is just a guide, feel free to have some fun with it! Change the colors, add some gummy worms, or dig into the brownie to make a spooky grave.
Enjoy and let's get spooky!

Treat Base:
- Pan of brownies (or sheet cake)
- Buttercream frosting
- Gel Icing Colors: Gourmet Green, Totally Brown, Sunshine Yellow & Outrageously Orange
- Grass icing tip
- Tipless piping bags
Treat Base Directions:

- Bake brownies as per box or recipe directions, let cool completely & do not cut them.
- Divvy up buttercream frosting in three bowls. One bowl should have a bit more than the other two for your main grass color (I chose green)
- Frosting bowl 1 (with the most frosting): To make a “dying grass” green color, I used Gel Icing Colors: Gourmet Green & Totally Brown. Mix and add gel colors until you get the desired effect.
- Frosting bowl 2: To make the “browning grass” color, I used Sunshine Yellow, Outrageously Orange & Totally Brown. Mix and add gel colors until you get the desired effect.
- Frosting bowl 3: To make the “hay dead grass” color, I used Sunshine Yellow & Totally Brown Mix and add gel colors until you get the desired effect.
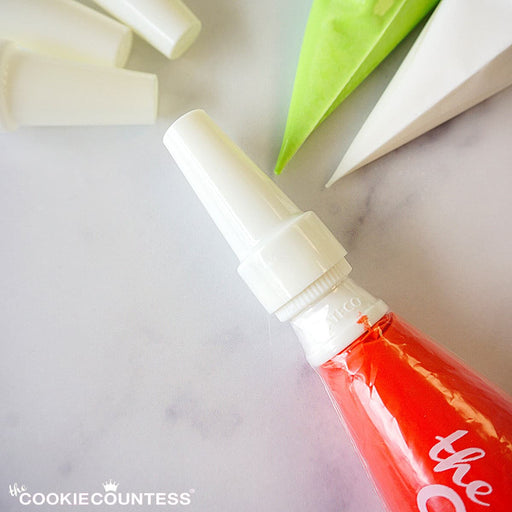
- For each of the three different frosting colors: Cut the end of a Cookie Countess Tipless bag enough to hold a piping tip (I used 10” 55 microns). Add a grass piping tip and fill the bag.
- Create a patchy grass appearance as you might see in an abandoned cemetery.
Cookies:
- Dark Chocolate Cookie (recipe here)
- Royal Icing (recipe here)
- Gel Icing Color: Tuxedo Black
- Bamboo skewers
- Gravestone cookie cutters
- Gravestone stencils

Cookie Directions:
- Preheat your oven to 375 degrees.
- Make cookie dough according to the instructions.
- Chill rolled cookie dough, then cut with gravestone cookie cutters. Place on a parchment paper lined baking sheet. (Hack: Use the Classic Gravestone cutter and ‘“decapitate” the top (HAHA). BOOM, there you have it! A third gravestone shape!)
- Slide cut bamboo skewers into the center of the cookies before baking, and then bake 10-14 minutes
- Let cookies cool completely.
- Make royal icing as per directions.
- Remove 1 cup of royal icing and tint black with Tuxedo Black gel icing color, set aside. This will be for your grave inscriptions.
- Tint the rest of the royal icing with Tuxedo Black icing gel color, but tint it to be gray (as gray as you’d like!) Keep any unused royal icing in an airtight container.
- Outline, then flood the chocolate gravestone cookies with the gray tinted royal icing.
- Let flooded cookies dry overnight.
Stenciling
- Stencil gravestone cookies with the reserved black royal icing. You can also use one of our tipless bags to hand pipe on the gravestones. I piped “RIP 2020” on one. Haha! Let dry. If you’re new to cookie stenciling, watch our tutorial here.
Decorations:
- Crushed sugar cookies
- Gel Icing Color: Gourmet Green
- Thin pretzel sticks
- Melting chocolate

Decorations Directions:
- Crushed sugar cookies into a grainy powder in a Zip-Lock bag.
- Add drops of Gourmet Green gel icing color to the bag, shake and knead until the crumbs turn green resembling moss.
- Using your gray tinted royal icing, brush some over the areas of each gravestone cookie where you’d like there to be moss. Sprinkle the green crumbs over the cookies. Place cookies aside to dry off.
- For the pretzel fence, melt the chocolate in a microwave-safe bowl 30 seconds at a time until melted.
- Arrange the pretzel stick in the form of a broken fence. Dip a thin pretzel rod in the melted chocolate, length wise. Place it over the arranged pretzels to make fence pieces.

Assemble the scene!
- Place the pretzel fence around the perimeter of the pan, gently pressing the pretzels into the brownies.
- Arrange the gravestones and insert them into brownies using the skewers.
Enjoy, and have a safe Halloween 2020!

Recommended for You:
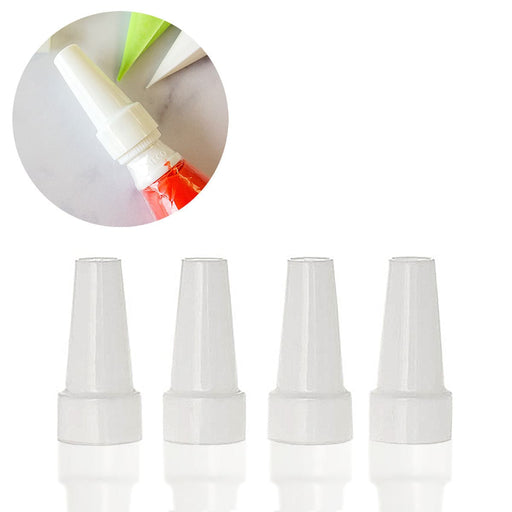
Piping Bag Tip Tube Covers - Set of 4
AtecoDon't let your icing bags leak or dry out! Use these covers on bags with Ateco couplers and standard tips on them. Reuse them again and again. Se...
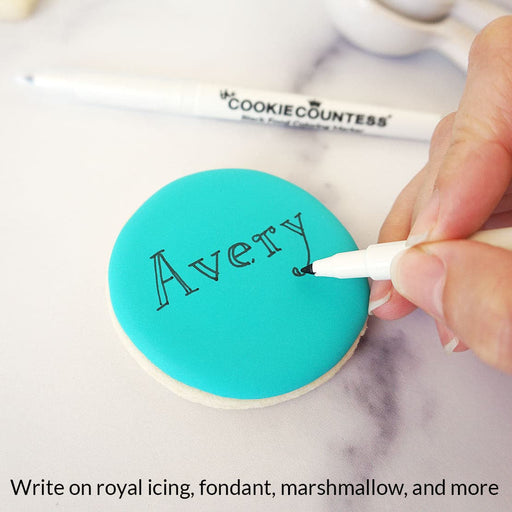
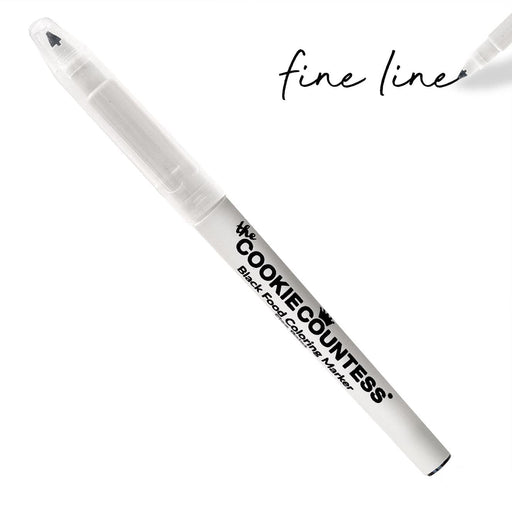
View full detailsBlack Fine Tip Food Marker
The Cookie CountessA black edible-ink pen is essential for your decorating kit. Use these high quality markers for: Marking up baked cookies for planning designs Wr...
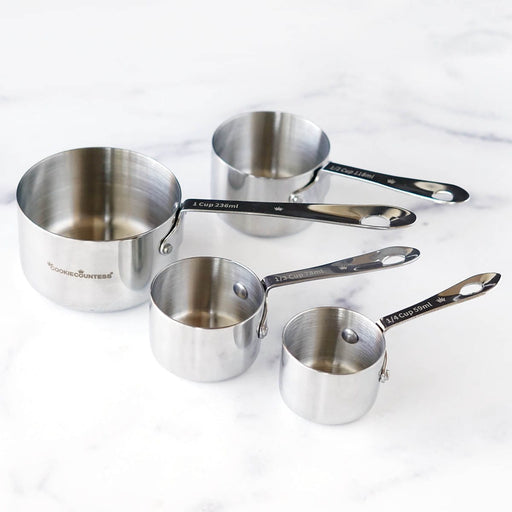
View full detailsStainless Steel Measuring Cups 4 Piece Set
The Cookie CountessIncredibly high quality, with no plastic parts. Whether baking or cooking you'll reach for these essentials again and again! THESE ARE THE LAST SET...
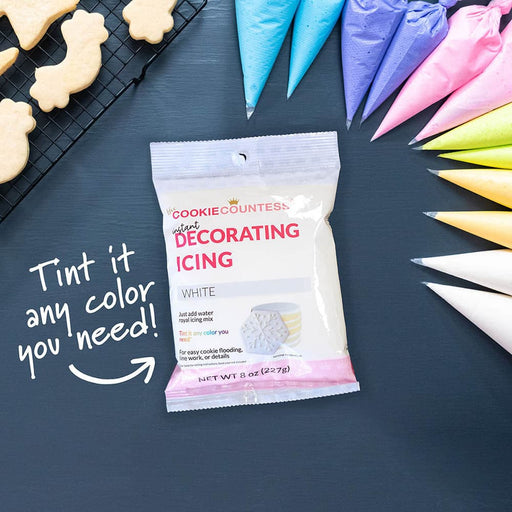
View full detailsInstant Royal Icing Mix - White Base
The Cookie CountessJust add water for white, stiff icing! Perfect for stenciling, dots and eyes, writing, or thin it for flooding. You can tint it any color you need...
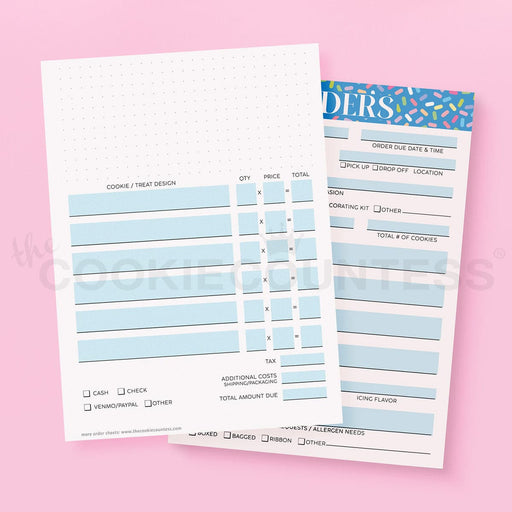
View full detailsCookie Order Form 5 x 7, 50 sheets
The Cookie CountessThese cute sheets will help you plan your cookie orders. The back has an area for sketching and pricing planning. Size: 5" x 7" 50 Sheet Pad Doub...
View full details-
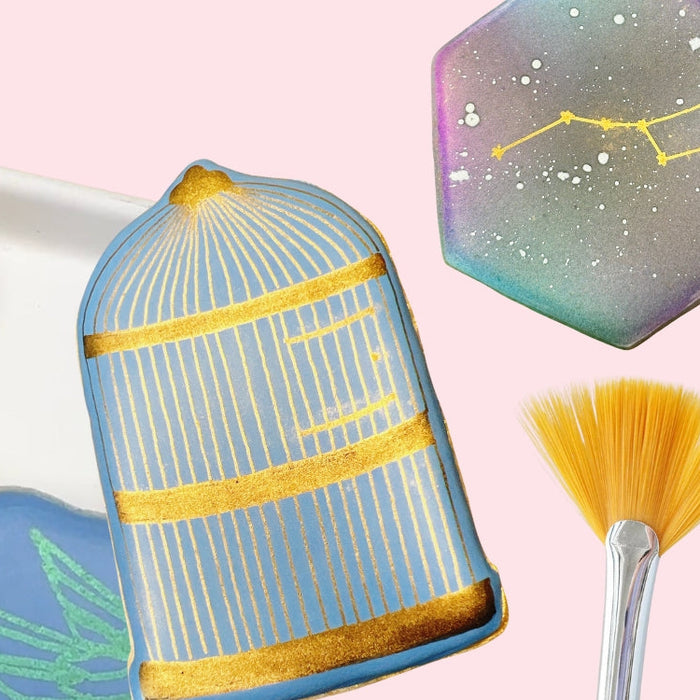
Make magic with edible markers and hybrid luster dust!
Read nowScroll down for Q&A section! When I made a quick video earlier this week demonstrating how you can add some real wow factor to your edible marker by dusting it with luster dust, I didn’t realize how many questions were...
-
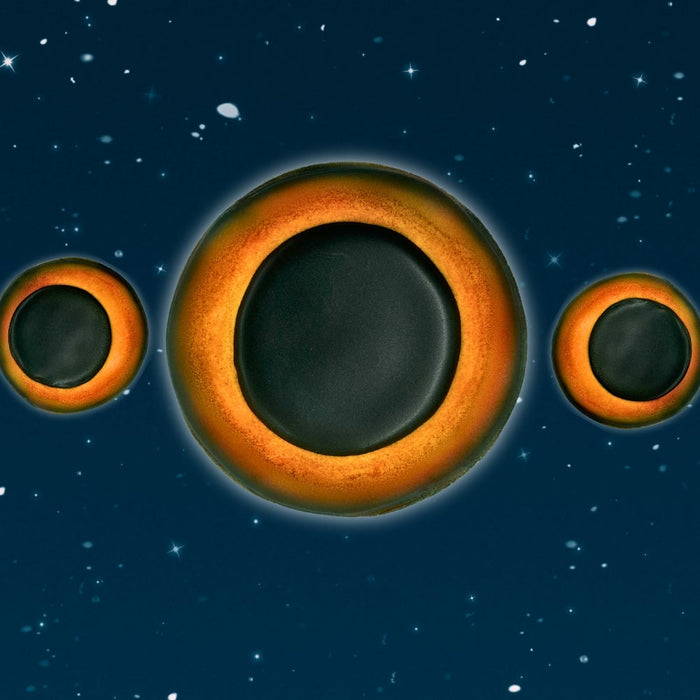
Solar Eclipse Cookies
Read nowCookiers will find a way to cookie anything. Yes. Cookiers will find a way to cookie anything. Am I being dramatic? A tad. But c'mon! Is there anything more dramatic than a total solar eclipse? I knew the eclipse was...
-
Blog Index
Read nowAll Airbrush Related Articles 1. Which Airbrush System is right for you? 2. Live Replay: Unboxing & getting started with your airbrush with Hillary & Sarah. 3. How to make watercolor florals with airbrush color 4. Live Replay: Airbrushing 101...




Leave a comment