
Last Minute Valentine’s Cookies: Minimalist Design, Max Impact
Valentine’s Day is right around the corner?! How did that sneak up on us?! Well, it may be too late to special order any custom cookie cutters, but if you have a simple heart cutter (and what cookier doesn’t, amiright?), you can still create some cookies that wow!

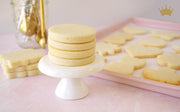
Step 1: Bake those cookies. Wilmalyn went with Strawberry to really double down on the pink factor for Valentine’s Day (find a delicious freeze-dried strawberry powder here.)
Step 2: For a cohesive set, pick a color scheme. Wilmalyn used Cookie Countess gel colors in Royal Red Velvet, a combination of Preppy Pink and Sunshine Yellow (to make a peachy/orange color), and Whipped White (to make a variety of tints).

Step 3: Flood, flood, flood. Get your base icing down in your chosen color palette and let it dry (save some plain cookies for a different design later).

Step 4: Play with line work! This is an easy way to decorate a cookie that looks way more complicated than it really is. Wilmalyn used a PME 00 piping tip to add vertical lines, squiggly lines in alternating colors, concentric circles that fill the whole cookie, and a mock wood grain pattern. There’s no right or wrong here; be as simple or creative as you want!

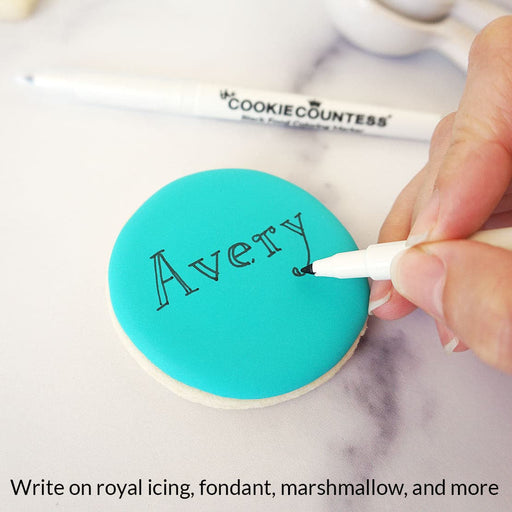
Step 5: Grab those plain cookies and play with sectioning. Wilmalyn used an edible marker to draw wavy lines onto the bare cookie to give herself an idea of where to pipe. For one, she made six sections and flooded every other one, allowing them to dry to the touch before going back to flood the other three sections; allowing those first three to dry before adding the rest is what created that funky wave effect.
Step 6: For one last “how did you do that” moment, on another plain cookie, flood each of the three sections a different color, but don’t wait for one to dry before you add the next. This will result in one level layer of icing with three different colors. Allow the icing to begin to crust and then poke it gently with the back end of a paintbrush. This will create a crackled, textured look that can really take a simple cookie to the next level.

Recommended for You:
Original price
$ 1.65
-
Original price
$ 1.65
Original price
$ 1.65
$ 1.65
-
$ 1.65
Current price
$ 1.65
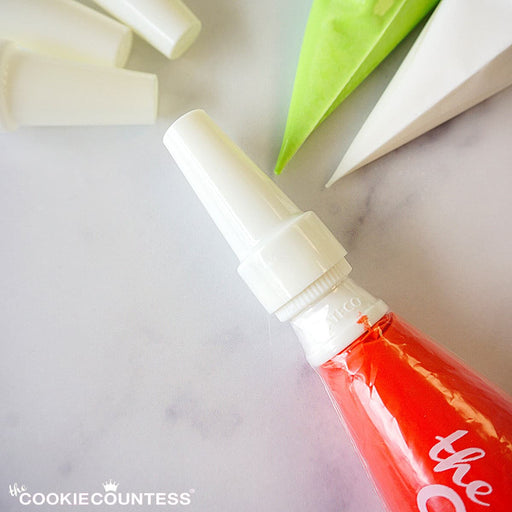
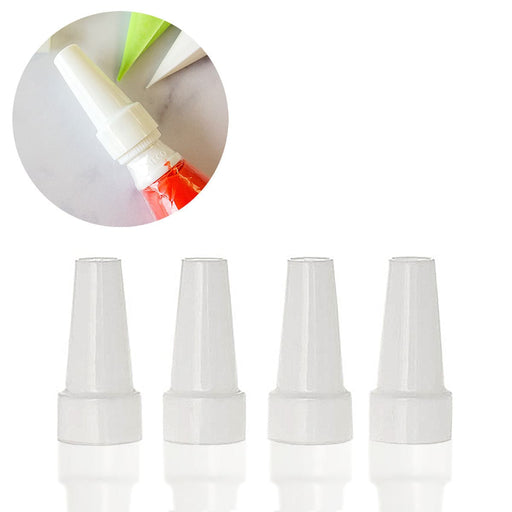
Piping Bag Tip Tube Covers - Set of 4
Ateco
in stock
Don't let your icing bags leak or dry out! Use these covers on bags with Ateco couplers and standard tips on them. Reuse them again and again. Se...
View full details
Original price
$ 1.65
-
Original price
$ 1.65
Original price
$ 1.65
$ 1.65
-
$ 1.65
Current price
$ 1.65
Original price
$ 1.85
-
Original price
$ 1.85
Original price
$ 1.85
$ 1.85
-
$ 1.85
Current price
$ 1.85
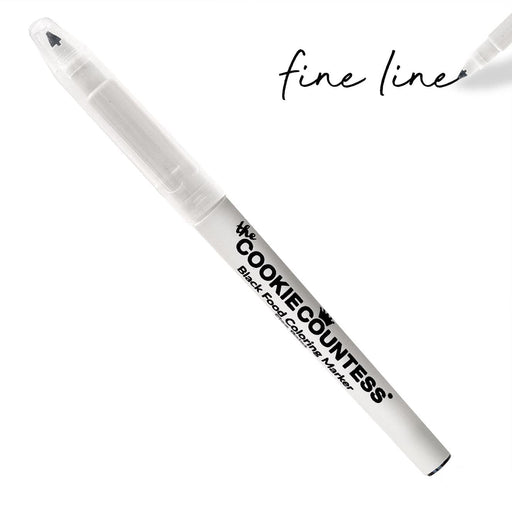
Black Fine Tip Food Marker
The Cookie Countess
in stock
A black edible-ink pen is essential for your decorating kit. Use these high quality markers for: Marking up baked cookies for planning designs Wr...
View full details
Original price
$ 1.85
-
Original price
$ 1.85
Original price
$ 1.85
$ 1.85
-
$ 1.85
Current price
$ 1.85

Original price
$ 23.99
Original price
$ 23.99
-
Original price
$ 23.99
Original price
$ 23.99
Current price
$ 14.99
$ 14.99
-
$ 14.99
Current price
$ 14.99
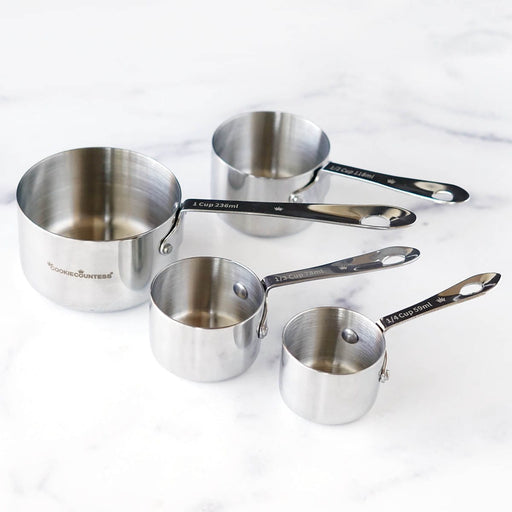
Stainless Steel Measuring Cups 4 Piece Set
The Cookie Countess
in stock
Incredibly high quality, with no plastic parts. Whether baking or cooking you'll reach for these essentials again and again! THESE ARE THE LAST SET...
View full details
Original price
$ 23.99
Original price
$ 23.99
-
Original price
$ 23.99
Original price
$ 23.99
Current price
$ 14.99
$ 14.99
-
$ 14.99
Current price
$ 14.99
Save 38%

Original price
$ 6.99
-
Original price
$ 6.99
Original price
$ 6.99
$ 6.99
-
$ 6.99
Current price
$ 6.99
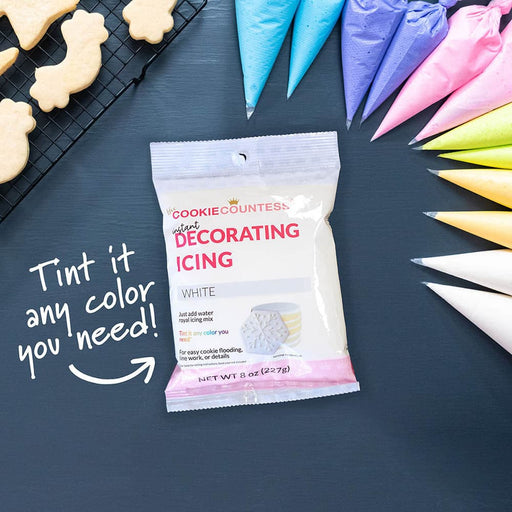
Instant Royal Icing Mix - White Base
The Cookie Countess
in stock
Just add water for white, stiff icing! Perfect for stenciling, dots and eyes, writing, or thin it for flooding. You can tint it any color you need...
View full details
Original price
$ 6.99
-
Original price
$ 6.99
Original price
$ 6.99
$ 6.99
-
$ 6.99
Current price
$ 6.99
Original price
$ 5.50
-
Original price
$ 5.50
Original price
$ 5.50
$ 5.50
-
$ 5.50
Current price
$ 5.50
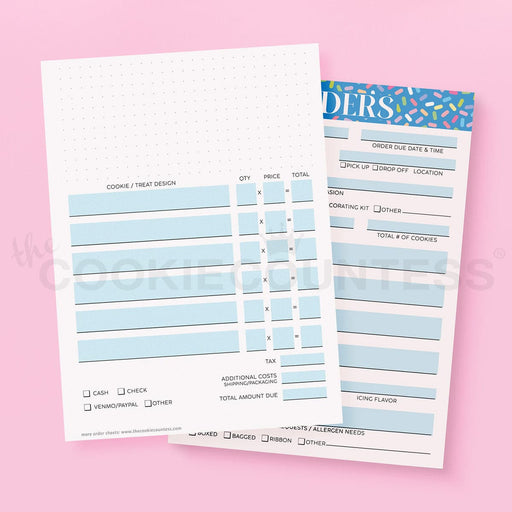
Cookie Order Form 5 x 7, 50 sheets
The Cookie Countess
in stock
These cute sheets will help you plan your cookie orders. The back has an area for sketching and pricing planning. Size: 5" x 7" 50 Sheet Pad Doub...
View full details
Original price
$ 5.50
-
Original price
$ 5.50
Original price
$ 5.50
$ 5.50
-
$ 5.50
Current price
$ 5.50
-
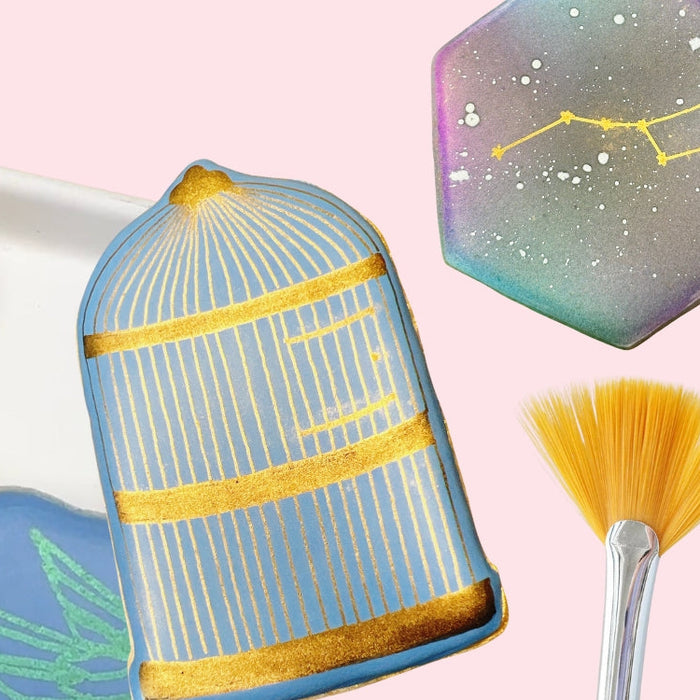
Make magic with edible markers and hybrid luster dust!
Read nowScroll down for Q&A section! When I made a quick video earlier this week demonstrating how you can add some real wow factor to your edible marker by dusting it with luster dust, I didn’t realize how many questions were...
-
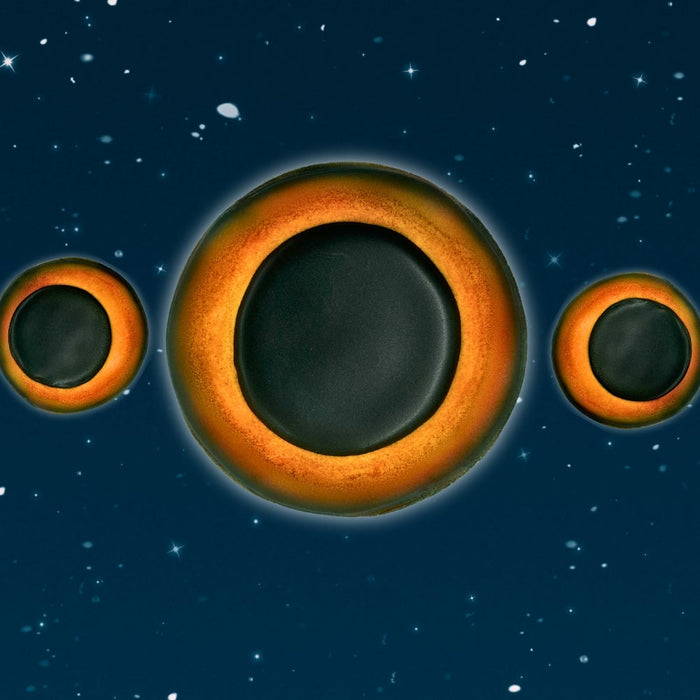
Solar Eclipse Cookies
Read nowCookiers will find a way to cookie anything. Yes. Cookiers will find a way to cookie anything. Am I being dramatic? A tad. But c'mon! Is there anything more dramatic than a total solar eclipse? I knew the eclipse was...
-
Blog Index
Read nowAll Airbrush Related Articles 1. Which Airbrush System is right for you? 2. Live Replay: Unboxing & getting started with your airbrush with Hillary & Sarah. 3. How to make watercolor florals with airbrush color 4. Live Replay: Airbrushing 101...


Leave a comment