
Brush Embroidery with Royal Icing

If you like watching cookie-decorating videos, then chances are pretty good that you have seen brush embroidery designs come across your screen at some point or another. This royal icing technique allows you to add lacy edges and an extra level of design to your cookies. But what is the best way to achieve this effect, and how can you work it seamlessly into your own arsenal of cookie tricks?
Video tutorial linked below!
What you need
- Whipped White Gel Food Color
- Royal Red Velvet Food Color
- Food Safe Art Brush (I used #2)
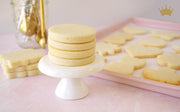
- Scalloped Heart Cookie Cutter
Two main factors will really affect the outcome of this design: icing consistency and the type of brush you use.
Some cookiers prefer to use a stiffer icing consistency for this technique, while others will swear by a slightly thinner consistency. I’ve tried both, and it really comes down to what you want your brush strokes to look like. The thinner consistency will result in being able to make longer brushstrokes, while the stiffer icing won’t want to stretch as far— but you’ll likely get more definition from the actual bristles. Just make sure your icing isn’t too wet, or it won’t hold the brushstrokes long enough for it to dry textured. (And I cannot stress this enough: if you realize your icing is too thin, you are much better off correcting your consistency issue immediately than struggling to make it work. Spoiler alert—it’s not going to, and you’re just going to end up frustrated and wanting to throw the brush across the room.)
Speaking of bristles—what kind of brush should you use for this technique? Well, the general consensus seems to be that a square-tipped brush works best, but feel free to experiment and see what gives you the look you’re going for. You want your brush to be damp (but not wet!), so keep a small bowl of water and a paper towel handy while you work, too.
The Technique
Working in small sections, apply a squiggle of icing where you want to create your design. Use the side of the brush to pull icing towards you, starting about halfway into the squiggle you have put down. Three things about this process:
- You don’t want to reach your brush fully through the icing, or you’ll simply brush it all flat. Starting your pull halfway through the line of icing means that you’ll leave that lovely continuous edge while you make your brush strokes inwards.
- The reason you want to use the side of the brush is so that your bristles aren’t all scraping the same icing at the same time; turning the brush on its side means that some bristles are dragging through the icing first and some a fraction of a second later, which gives that layered brush stroke design and some dimensionality.
- The reason you want to work in small sections is that you don’t want your icing to have dried out by the time you are trying to brush it. By working in small bits at a time, you can ensure you are moving quickly enough that the technique will work equally well from start to finish in each section.
Some cookiers prefer to make dots instead of squiggles, which is also perfectly fine! You won’t get the continuous line edge like you get with the squiggles, but I find that I like using dots when I’m making a floral design in particular; the dots help create individual petals that stand out a little more on their own.
Continue this process all the way around your cookie, cleaning icing residue off your brush as needed. Simply swish the brush in your bowl of water and then wipe the excess moisture off on a paper towel.
Jazz It Up
Ok, now that you know how the basics are done, let’s talk about elevating this technique even more!
- Paint your dried brush embroidery icing with edible gold paint for an extra glam look;
- Layer multiple brushstrokes on top of each other for more depth (make sure the first layer is dry before adding the next!);
- Use stencils or embossing parchment in other areas of your design for some next level awesomeness;
- While this technique is perfect for an all-around lacy edge on a scalloped heart, it can also be used in small areas of your designs to make florals or lacy patterns on top of dried flood icing.
Recommended for You:
Original price
$ 1.65
-
Original price
$ 1.65
Original price
$ 1.65
$ 1.65
-
$ 1.65
Current price
$ 1.65
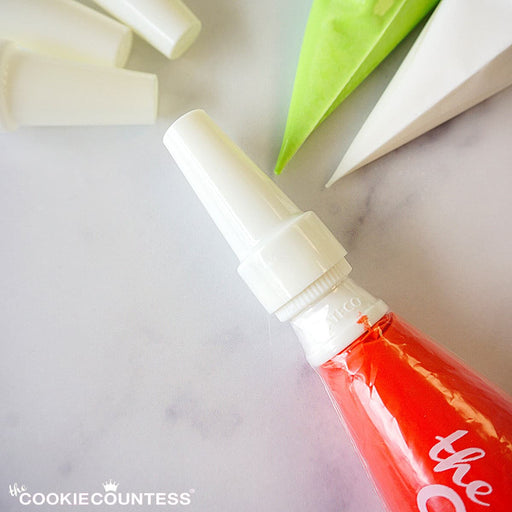
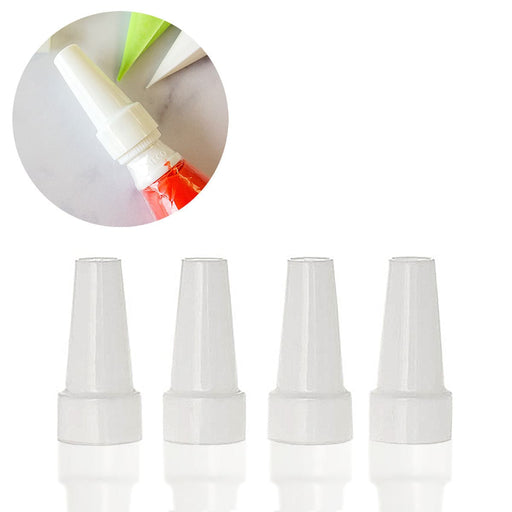
Piping Bag Tip Tube Covers - Set of 4
Ateco
in stock
Don't let your icing bags leak or dry out! Use these covers on bags with Ateco couplers and standard tips on them. Reuse them again and again. Se...
View full details
Original price
$ 1.65
-
Original price
$ 1.65
Original price
$ 1.65
$ 1.65
-
$ 1.65
Current price
$ 1.65
Original price
$ 1.85
-
Original price
$ 1.85
Original price
$ 1.85
$ 1.85
-
$ 1.85
Current price
$ 1.85
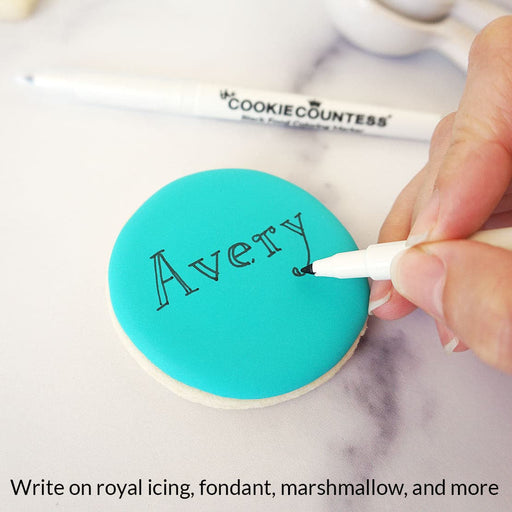
Black Fine Tip Food Marker
The Cookie Countess
in stock
A black edible-ink pen is essential for your decorating kit. Use these high quality markers for: Marking up baked cookies for planning designs Wr...
View full details
Original price
$ 1.85
-
Original price
$ 1.85
Original price
$ 1.85
$ 1.85
-
$ 1.85
Current price
$ 1.85

Original price
$ 23.99
Original price
$ 23.99
-
Original price
$ 23.99
Original price
$ 23.99
Current price
$ 14.99
$ 14.99
-
$ 14.99
Current price
$ 14.99
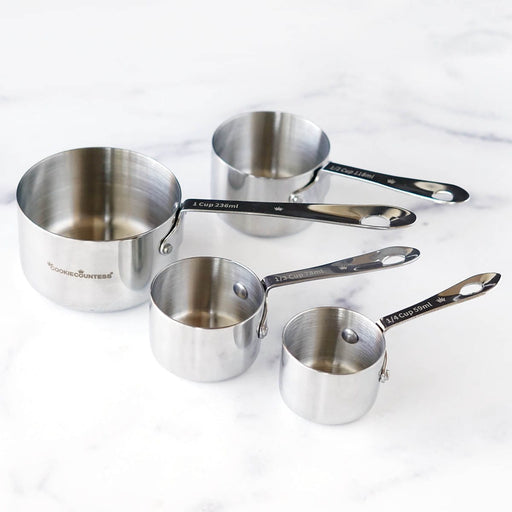
Stainless Steel Measuring Cups 4 Piece Set
The Cookie Countess
in stock
Incredibly high quality, with no plastic parts. Whether baking or cooking you'll reach for these essentials again and again! THESE ARE THE LAST SET...
View full details
Original price
$ 23.99
Original price
$ 23.99
-
Original price
$ 23.99
Original price
$ 23.99
Current price
$ 14.99
$ 14.99
-
$ 14.99
Current price
$ 14.99
Save 38%

Original price
$ 6.99
-
Original price
$ 6.99
Original price
$ 6.99
$ 6.99
-
$ 6.99
Current price
$ 6.99
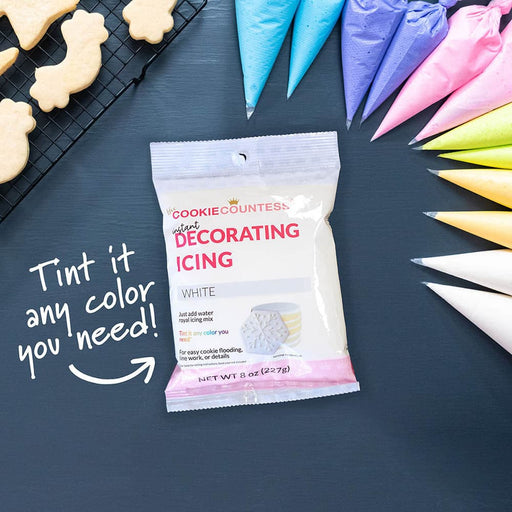
Instant Royal Icing Mix - White Base
The Cookie Countess
in stock
Just add water for white, stiff icing! Perfect for stenciling, dots and eyes, writing, or thin it for flooding. You can tint it any color you need...
View full details
Original price
$ 6.99
-
Original price
$ 6.99
Original price
$ 6.99
$ 6.99
-
$ 6.99
Current price
$ 6.99
Original price
$ 5.50
-
Original price
$ 5.50
Original price
$ 5.50
$ 5.50
-
$ 5.50
Current price
$ 5.50
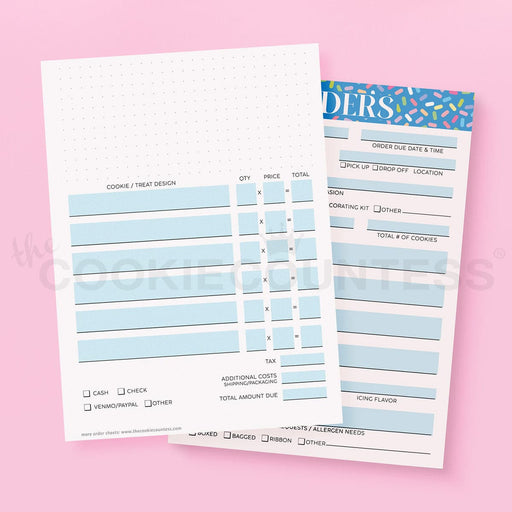
Cookie Order Form 5 x 7, 50 sheets
The Cookie Countess
in stock
These cute sheets will help you plan your cookie orders. The back has an area for sketching and pricing planning. Size: 5" x 7" 50 Sheet Pad Doub...
View full details
Original price
$ 5.50
-
Original price
$ 5.50
Original price
$ 5.50
$ 5.50
-
$ 5.50
Current price
$ 5.50
-
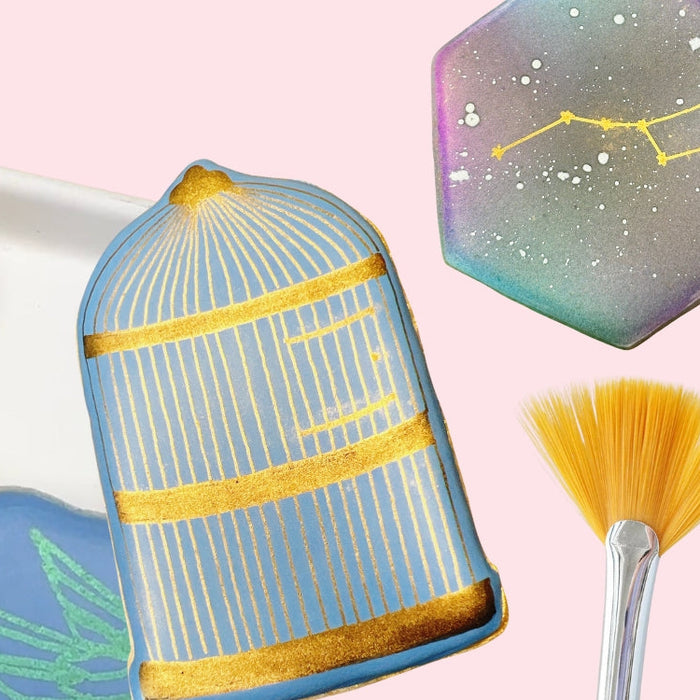
Make magic with edible markers and hybrid luster dust!
Read nowScroll down for Q&A section! When I made a quick video earlier this week demonstrating how you can add some real wow factor to your edible marker by dusting it with luster dust, I didn’t realize how many questions were...
-
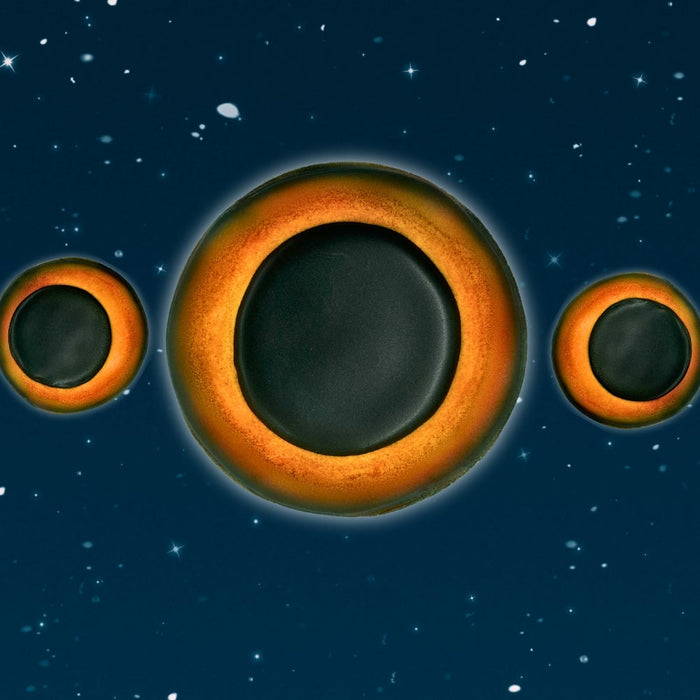
Solar Eclipse Cookies
Read nowCookiers will find a way to cookie anything. Yes. Cookiers will find a way to cookie anything. Am I being dramatic? A tad. But c'mon! Is there anything more dramatic than a total solar eclipse? I knew the eclipse was...
-
Blog Index
Read nowAll Airbrush Related Articles 1. Which Airbrush System is right for you? 2. Live Replay: Unboxing & getting started with your airbrush with Hillary & Sarah. 3. How to make watercolor florals with airbrush color 4. Live Replay: Airbrushing 101...


Comments
Leave a comment